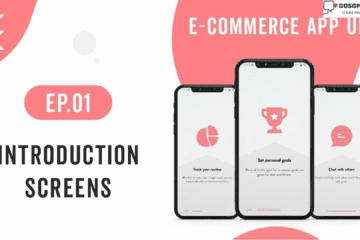
Hi everyone, In the last part of this service, we discuss the e-commerce app and learn about how to create Introduction Screens. In this, we learn and create how to design a Landing Screen in Flutter with simple steps. So don’t waste your time we follow a couple of steps.
Landing Screen in Flutter:
We all know that when the user completes the introduction screens, we forward the user to another screen, where the user performs the sign-up or sign-in process. This screen, where users perform these tasks, is called the landing screen. In this screen, we divert the user to two different screens, like the SignUp or SignIn screen, where the user does some creating a new account and login process.
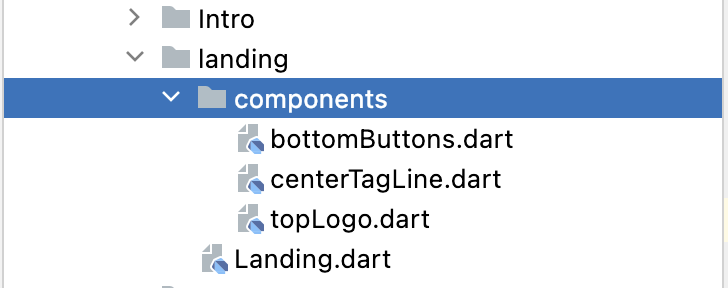
Step 1: Start from where we left off in the last Introduction Screens article. So in the last step, we create the user, navigate to the Landing file then first we create the Landing screen. You create a new directory in the lib folder landing, and inside this folder, you create one dart file named Landing.. You also create one more folder into landing-like components and inside this create three dart file names like bottomButtons.dart, centerTagLine.dart, topLogo.dart.
landing.dart
import 'package:flutter/material.dart';
import '../Intro/Constent.dart';
import '../Intro/components/EmptyAppBar.dart';
import 'components/bottomButtons.dart';
import 'components/centerTagLine.dart';
import 'components/topLogo.dart';

class Landing extends StatefulWidget {
  Landing({key}) : super(key: key);

  @override
  _LandingState createState() => _LandingState();
}

class _LandingState extends State<Landing> {
  @override
  Widget build(BuildContext context) {
    return Scaffold(
      backgroundColor: kWhiteColor,
      appBar: EmptyAppBar(),
      body: Column(
        children: [
          TopLogo(),
          CenterTagLine(),
          BottomButtons(),
        ],
      ),
    );
  }
}
bottomButtons.dart
import 'package:flutter/material.dart';
import '../../Intro/Constent.dart';
import '../../signin/signin.dart';
import '../../signup/signup.dart';

class BottomButtons extends StatelessWidget {
  const BottomButtons({
    key,
  }) : super(key: key);

  @override
  Widget build(BuildContext context) {
    return Expanded(
      flex: 1,
      child: Container(
        child: Column(
          mainAxisAlignment: MainAxisAlignment.start,
          children: [

            Container(
                width: MediaQuery.of(context).size.width,
                padding: EdgeInsets.symmetric(horizontal: kDefaultPadding),
                child: ElevatedButton(
                  style: ButtonStyle(
                    padding: MaterialStateProperty.all(EdgeInsets.symmetric(vertical: kLessPadding)),
                    shape: MaterialStateProperty.all(RoundedRectangleBorder(
                      borderRadius: BorderRadius.circular(kShape),
                    )),
                    side: MaterialStateProperty.all(BorderSide(
                      color: kPrimaryColor,
                      style: BorderStyle.solid,
                    )),
                    backgroundColor: MaterialStateProperty.all(Colors.transparent), // transparent background
                    overlayColor: MaterialStateProperty.all(kTransparent), // transparent splash
                    foregroundColor: MaterialStateProperty.all(kPrimaryColor), // text color
                    shadowColor: MaterialStateProperty.all(Colors.transparent), // no shadow
                    elevation: MaterialStateProperty.all(0), // no elevation
                  ),
                  onPressed: (){
                    Navigator.of(context).push(
                      MaterialPageRoute(
                        builder: (context) => SignUp(),
                      ),
                    );
                  },
                  child: Text(
                    'Sign Up'.toUpperCase(),
                    style: TextStyle(color: kPrimaryColor),
                  ),
                )


            ),

            SizedBox(height: kDefaultPadding),

            Container(
                width: MediaQuery.of(context).size.width,
                padding: EdgeInsets.symmetric(horizontal: kDefaultPadding),
                child: ElevatedButton(
                  style: ButtonStyle(
                    padding: MaterialStateProperty.all(EdgeInsets.symmetric(vertical: kLessPadding)),
                    shape: MaterialStateProperty.all(RoundedRectangleBorder(
                      borderRadius: BorderRadius.circular(kShape),
                    )),
                    side: MaterialStateProperty.all(BorderSide(
                      color: kPrimaryColor,
                      style: BorderStyle.solid,
                    )),
                    backgroundColor: MaterialStateProperty.all(Colors.transparent), // transparent background
                    overlayColor: MaterialStateProperty.all(kTransparent), // transparent splash
                    foregroundColor: MaterialStateProperty.all(kPrimaryColor), // text color
                    shadowColor: MaterialStateProperty.all(Colors.transparent), // no shadow
                    elevation: MaterialStateProperty.all(0), // no elevation
                  ),
                  onPressed: (){
                    Navigator.of(context).push(
                      MaterialPageRoute(
                        builder: (context) => SignIn(),
                      ),
                    );
                  },
                  child: Text(
                    'Sign In'.toUpperCase(),
                    style: TextStyle(color: kPrimaryColor),
                  ),
                ),
            ),

          ],
        ),
      ),
    );
  }
}
centerTagLine.dart
import 'package:flutter/material.dart';
import '../../Intro/Constent.dart';
import '../../signin/signin.dart';
import '../../signup/signup.dart';

class BottomButtons extends StatelessWidget {
  const BottomButtons({
    key,
  }) : super(key: key);

  @override
  Widget build(BuildContext context) {
    return Expanded(
      flex: 1,
      child: Container(
        child: Column(
          mainAxisAlignment: MainAxisAlignment.start,
          children: [

            Container(
                width: MediaQuery.of(context).size.width,
                padding: EdgeInsets.symmetric(horizontal: kDefaultPadding),
                child: ElevatedButton(
                  style: ButtonStyle(
                    padding: MaterialStateProperty.all(EdgeInsets.symmetric(vertical: kLessPadding)),
                    shape: MaterialStateProperty.all(RoundedRectangleBorder(
                      borderRadius: BorderRadius.circular(kShape),
                    )),
                    side: MaterialStateProperty.all(BorderSide(
                      color: kPrimaryColor,
                      style: BorderStyle.solid,
                    )),
                    backgroundColor: MaterialStateProperty.all(Colors.transparent), // transparent background
                    overlayColor: MaterialStateProperty.all(kTransparent), // transparent splash
                    foregroundColor: MaterialStateProperty.all(kPrimaryColor), // text color
                    shadowColor: MaterialStateProperty.all(Colors.transparent), // no shadow
                    elevation: MaterialStateProperty.all(0), // no elevation
                  ),
                  onPressed: (){
                    Navigator.of(context).push(
                      MaterialPageRoute(
                        builder: (context) => SignUp(),
                      ),
                    );
                  },
                  child: Text(
                    'Sign Up'.toUpperCase(),
                    style: TextStyle(color: kPrimaryColor),
                  ),
                )


            ),

            SizedBox(height: kDefaultPadding),

            Container(
                width: MediaQuery.of(context).size.width,
                padding: EdgeInsets.symmetric(horizontal: kDefaultPadding),
                child: ElevatedButton(
                  style: ButtonStyle(
                    padding: MaterialStateProperty.all(EdgeInsets.symmetric(vertical: kLessPadding)),
                    shape: MaterialStateProperty.all(RoundedRectangleBorder(
                      borderRadius: BorderRadius.circular(kShape),
                    )),
                    side: MaterialStateProperty.all(BorderSide(
                      color: kPrimaryColor,
                      style: BorderStyle.solid,
                    )),
                    backgroundColor: MaterialStateProperty.all(Colors.transparent), // transparent background
                    overlayColor: MaterialStateProperty.all(kTransparent), // transparent splash
                    foregroundColor: MaterialStateProperty.all(kPrimaryColor), // text color
                    shadowColor: MaterialStateProperty.all(Colors.transparent), // no shadow
                    elevation: MaterialStateProperty.all(0), // no elevation
                  ),
                  onPressed: (){
                    Navigator.of(context).push(
                      MaterialPageRoute(
                        builder: (context) => SignIn(),
                      ),
                    );
                  },
                  child: Text(
                    'Sign In'.toUpperCase(),
                    style: TextStyle(color: kPrimaryColor),
                  ),
                ),
            ),

          ],
        ),
      ),
    );
  }
}
topLogo.dart
import 'package:flutter/material.dart';
import '../../Intro/Constent.dart';
class TopLogo extends StatelessWidget {
const TopLogo({
key,
}) : super(key: key);
@override
Widget build(BuildContext context) {
return Expanded(
flex: 1,
child: Container(
child: Column(
mainAxisAlignment: MainAxisAlignment.center,
children: [
Image(
image: AssetImage(logo),
height: 160.0,
),
Text(
'E-Commerce',
style: kTitleTextStyle,
),
],
),
),
);
}
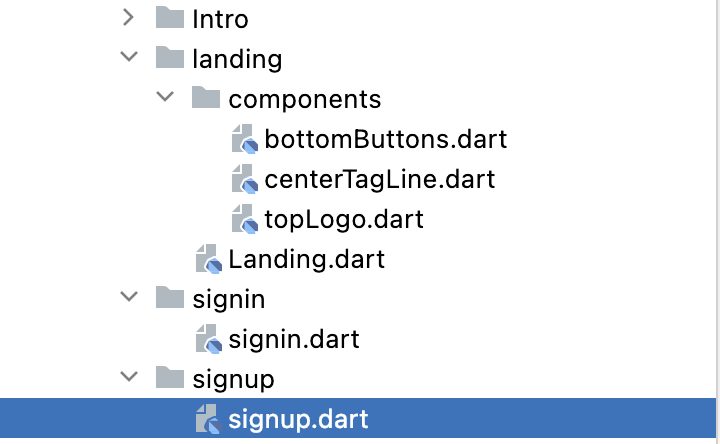
}Step 2: You also create two more directories, like signing and signup, respectively, and create one dart file named signin.dart, signup.dart.
signin.dart
import 'package:flutter/material.dart';


class SignIn extends StatefulWidget {
  SignIn({ key}) : super(key: key);

  @override
  _SignInState createState() => _SignInState();
}

class _SignInState extends State<SignIn> {
  @override
  Widget build(BuildContext context) {

    return Scaffold(
      appBar: AppBar(
        title: Text('SignIn'),
        centerTitle: true,
      ),
      body: Center(
        child: Container(
          child: Text('SignIn'),
        ),
      ),
    );

  }
}
signup.dart
import 'package:flutter/material.dart';


class SignUp extends StatefulWidget {
  SignUp({key}) : super(key: key);

  @override
  _SignUpState createState() => _SignUpState();
}

class _SignUpState extends State<SignUp> {
  @override
  Widget build(BuildContext context) {

    return Scaffold(
      appBar: AppBar(
        title: Text('SignUp'),
        centerTitle: true,
      ),
      body: Center(
        child: Container(
          child: Text('SignUp'),
        ),
      ),
    );

  }
}
Output
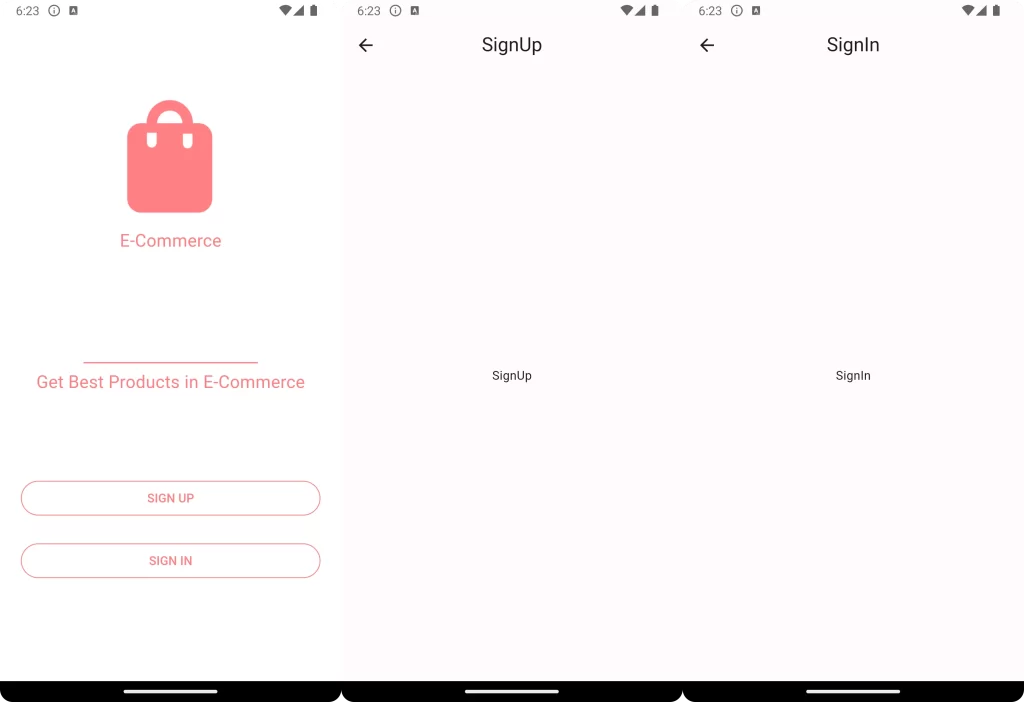
Conclusion:
In this screen, we create and learn about the Flutter Landing Screen. I think you understand this code and UI design You can try from your side to improve this layout to make it more interesting and amazing. We create a single article on a single screen, so you can easily understand what is happening in the code.
❤️❤️ Thanks for reading this article ❤️❤️
If I got something wrong? Let me know in the comments. I would love to improve 🥰🥰🥰.
Clap 👏👏👏 If this article helps you,
if you like our work, please follow us on this Dosomthings
Our more attractive articles:
EP.01 Introduction Screens: E-Commerce App UI in Flutter | EP.01 Introduction Screens.
Dark Mode and Light Mode: How to implement Dark Mode and Light Mode in Flutter.
Time Delay in Flutter: How to Run Code After Time Delay in Flutter App.