Email validation is the best practice before transmitting user input to the server. The user should be shown the email address when we determine whether it is valid. We can use Email validation regEx pattern, which is slightly more difficult to design, to check the email address. how do I validate an email in a flutter?
To achieve the same result without utilizing a regEx pattern, we can utilize email validator, the nicest package in pub.dev. We’ll examine the email validator package in this article.
How can I validate the email address?
About email_validator:
How do you make an email validator? This straightforward Dart class, which eliminates the need for RegEx to validate email addresses, was discussed earlier.

Step 1: Adding Dependency
To use this package, we should first add it to the pubspec.yaml file and then run pug get.
dependencies:
  flutter:
    sdk: flutter
  email_validator: ^2.0.1
Import Package:
We can use it in our Dart code after installing the package for email validation dart.
import 'package:email_validator/email_validator.dart';
Step 2: Validating the Email Address with email_validator
The email address will be verified using the static function verify() from the EmailValidator class. It produces a bool value, with true representing a valid email address and false representing an invalid email address.
  static bool validate(String email,
      [bool allowTopLevelDomains = false, bool allowInternational = true])
The validate(…) method takes three parameters, as can be seen from the code in the aforementioned section. The email address should be supplied as sting among the three; the other two are optional.
allowTopLevelDomains: The validator will accept addresses with top-level domains like “[email protected]” if [allowTopLevelDomains] is set to “true.” False is the default setting.
allowInternational: The validator will validate the email address using the more recent International Email standards if [allowInternational] is set to ‘true’. True is the default value.
const String email = '[email protected]';
    final bool isValid = EmailValidator.validate(email);
    print('Email is valid? ' + (isValid ? 'yes' : 'no'));
Just pass a string containing the email address to validate(..), which returns a Boolean result. Based on that value, we can update the Ui. A straightforward example of how to utilize the validate(..) method is provided in the code above. we just use a text field for flutter validate email.
Step 3: Implementation of Email validation on the login page
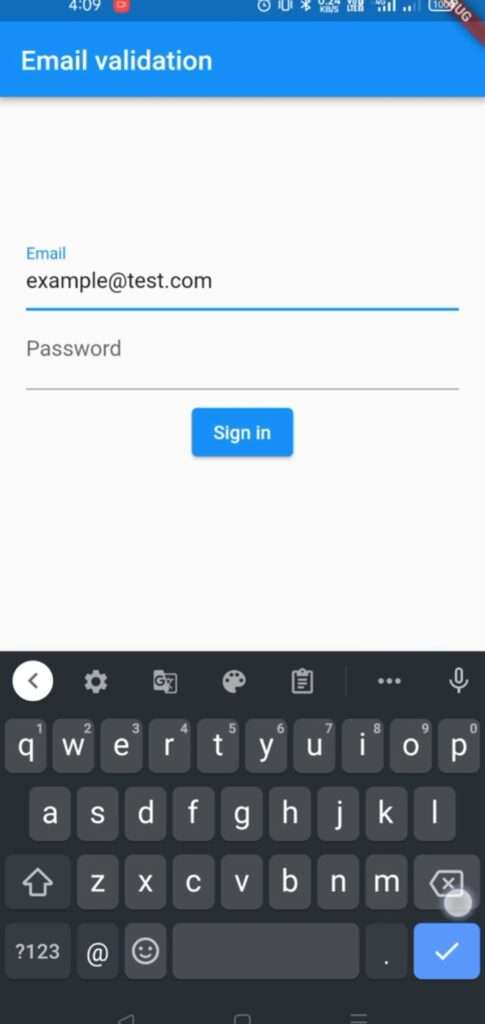
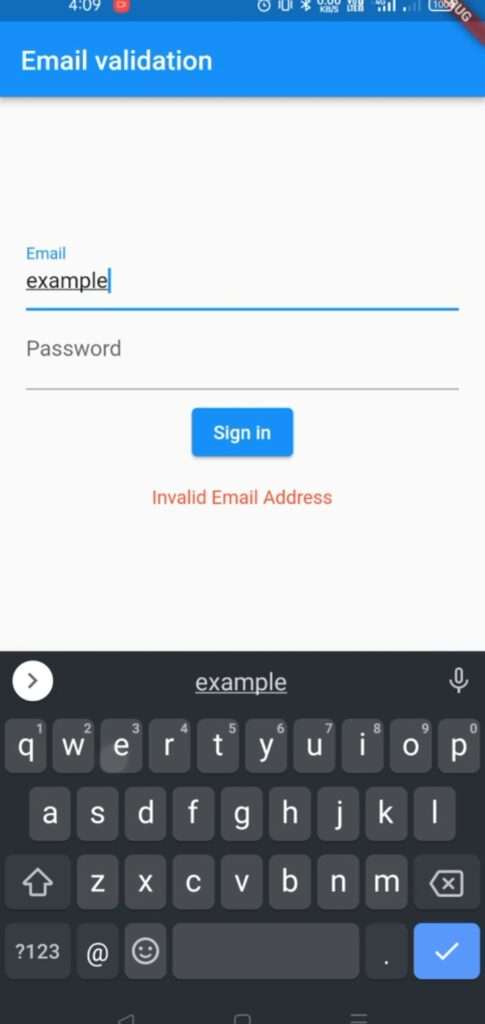
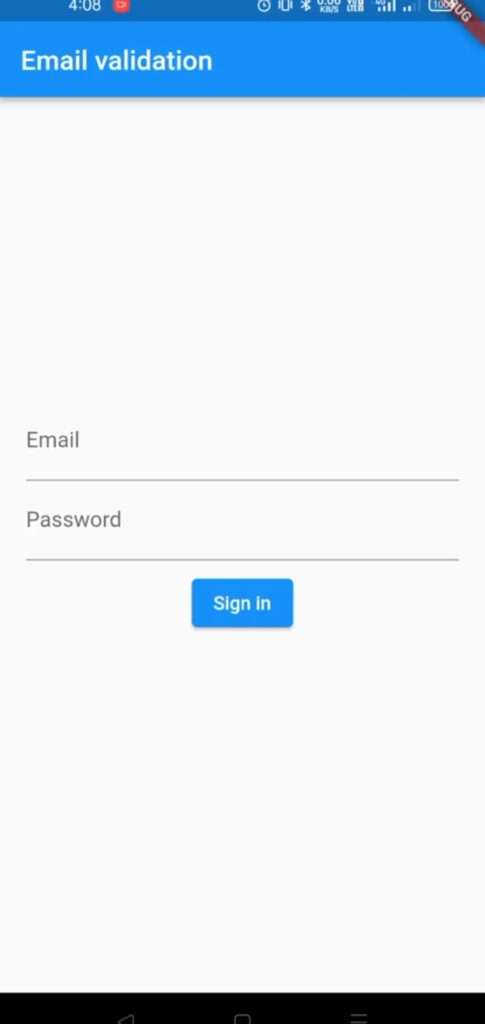
There are two text fields on the login page: one for the email address and one for the password. We added email verification to the email field by using the EmailValidator. Replace the code in the following Flutter project, then launch the program. We’ll learn more about the idea as time goes on.
import 'package:flutter/material.dart';
import 'package:email_validator/email_validator.dart';

void main() {
  runApp(const MyApp());
}

class MyApp extends StatelessWidget {
  const MyApp({Key? key}) : super(key: key);

  // This widget is the root of your application.
  @override
  Widget build(BuildContext context) {
    return MaterialApp(
      title: 'Flutter Demo',
      theme: ThemeData(
        primarySwatch: Colors.blue,
      ),
      home:  LogInPage(),
    );
  }
}
class LogInPage extends StatefulWidget {
  @override
  _LogInPageState createState() => _LogInPageState();
}

class _LogInPageState extends State<LogInPage> {
   String _errorMessage = '';
  @override
  Widget build(BuildContext context) {
    return Scaffold(
      appBar: AppBar(
        title: Text('Email validation'),
      ),
      body: Padding(
        padding: const EdgeInsets.all(20.0),
        child: Column(
          mainAxisAlignment: MainAxisAlignment.center,
          children: [
            TextFormField(
              keyboardType: TextInputType.emailAddress,
              decoration: InputDecoration(labelText: 'Email'),
              onChanged: (val){
                validateEmail(val);
              },
            ),
            TextFormField(
              keyboardType: TextInputType.visiblePassword,
              decoration: InputDecoration(labelText: 'Password'),
              obscureText: true,
            ),
            Padding(
              padding: const EdgeInsets.all(8.0),
              child: ElevatedButton(
                onPressed: () {
                  print("Sing in Clicked");
                },
                child: Text('Sign in'),
              ),
            ),

            Padding(
              padding: const EdgeInsets.all(8.0),
              child: Text(_errorMessage, style: TextStyle(color: Colors.red),),
            ),
          ],
        ),
      ),
    );
  }

  void validateEmail(String val) {
    if(val.isEmpty){
  setState(() {
    _errorMessage = "Email can not be empty";
  });
    }else if(!EmailValidator.validate(val, true)){
      setState(() {
        _errorMessage = "Invalid Email Address";
      });
    }else{
      setState(() {

        _errorMessage = "";
      });
    }
  }
}
Output
Thanks for reading this article 🙂🙂🙂
If I got something wrong? Let me know in the comments. I would love to improve.
Clap 👏 If this article helps you.
If we got something wrong? Let me know in the comments. we would love to improve.
If you like our articles and work then please follow our site Click.
and if you like a more interesting and new article then Click.