“One of the simplest activities that any application can perform is saving an image that has been downloaded from the Internet in the filesystem“
Hi guyz i hope you all are well so in this article we learn how to save url image into our local device like phone. Beginning with the assumption that we already know the URL of an image, we will download it first before saving it in the gallery or to a specified location.
don’t waste your time go to the code in to do this task we will use the following dependencies:
- flutter_file_dialog: We will use it to request the operating system to ask the user where they want to save the image and to perform said saving.
- path_provider: We will need to find the directory of temporary files to create the first temporary copy of the file.
- http: It will be necessary to download the image in the temporary directory.
Step 1: Create a basic layout:
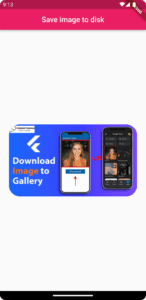
Now we are going to create a very basic layout that displays an image from URL:
import 'package:flutter/material.dart';

void main() {
  runApp(const App());
}

class App extends StatelessWidget {
  const App({super.key});

  @override
  Widget build(BuildContext context) {
    return MaterialApp(
      title: 'Save image to disk',
      theme: ThemeData(
        primarySwatch: Colors.blue,
      ),
      home: const MainScreen(),
    );
  }
}

class MainScreen extends StatelessWidget {
  static const _url = 'https://dosomthings.com/wp-content/uploads/2022/07/dc0a7e44e96647848177c8afd4bdabdd.png';

  const MainScreen({super.key});

  @override
  Widget build(BuildContext context) {
    return Scaffold(
      appBar: AppBar(
        title: const Text('Save image to disk'),
        centerTitle: true,
        backgroundColor: Color(0xFFe91e63),
        actions: [
          IconButton(
            onPressed: () {
              // We will add this method later
            },
            icon: const Icon(Icons.save,color: Colors.white,),
          ),
        ],
      ),
      body: Center(
        child: Container(
          padding: const EdgeInsets.only(
            left: 24.0,
            right: 24.0,
          ),
          child: ClipRRect(
            borderRadius: BorderRadius.circular(30.0),
            child: Image.network(_url),
          ),
        ),
      ),
    );
  }
}
Step 2: Give permission and set Configuration in android for Download and save image:
First you give three user permission in AndroidManifest.xml file. folder structure be like, Project Name/android/app/src/main/AndroidManifest.xml.
<manifest xmlns:android="http://schemas.android.com/apk/res/android"
    package="com.example.saveimage">
    <uses-permission android:name="android.permission.INTERNET"/>
    <uses-permission android:name="android.permission.READ_EXTERNAL_STORAGE" />
    <uses-permission android:name="android.permission.WRITE_EXTERNAL_STORAGE" />
   <application>
Second, one or more plugins require a higher Android SDK version. so give static higher version in the app/ gradle file. so we upgrade to versions compileSdkVersion & minSdkVersion folder structure be like, Project Name/android/app/build.gradle file.
android {
    //HERE..
    compileSdkVersion 33

    ndkVersion flutter.ndkVersion

    compileOptions {
        sourceCompatibility JavaVersion.VERSION_1_8
        targetCompatibility JavaVersion.VERSION_1_8
    }
defaultConfig {
// TODO: Specify your own unique Application ID (https://developer.android.com/studio/build/application-id.html).
applicationId "com.example.saveimage"
//HERE...
minSdkVersion 19
targetSdkVersion flutter.targetSdkVersion
versionCode flutterVersionCode.toInteger()
versionName flutterVersionName
}Step 3: Download and save image from the URL to a file:
The last step is to save the image to disk. This step divided by multiple steps like this
- First, we will have to download the image in the memory of the application.
- We will then create an image file in a temporary location, where the app can write to it without asking for permission. but we give permission into android Manifest file.
- Finally, we will invoke the system to make the final saving of the image in the location chosen by the user.
  Future<void> _saveImage(BuildContext context) async {
    late String message;

    try {
      // Download image
      final http.Response response = await http.get(
          Uri.parse(widget.singleImage));

      // Get temporary directory
      final dir = await getTemporaryDirectory();

      // Create an image name
      var filename = '${dir.path}/BGMIimage${random.nextInt(100)}.png';

      // Save to filesystem
      final file = File(filename);
      await file.writeAsBytes(response.bodyBytes);

      // Ask the user to save it
      final params = SaveFileDialogParams(sourceFilePath: file.path);
      final finalPath = await FlutterFileDialog.saveFile(params: params);

      if (finalPath != null) {
        message = 'Image saved to disk';
      }
    } catch (e) {
      message = e.toString();
      final SnackBar snackBar = SnackBar(content:  Text(
        message,
        textAlign: TextAlign.center,
        style: TextStyle(
          fontSize: 12,
          color: Colors.white,
          fontWeight: FontWeight.bold,
        ),
      ),backgroundColor: isDark ? Colors.black : ProjectColors.app_color,);
      snackbarKey.currentState?.showSnackBar(snackBar);
    }

    if (message != null) {

      final SnackBar snackBar = SnackBar(content:  Text(
        message,
        textAlign: TextAlign.center,
        style: TextStyle(
          fontSize: 12,
          color: Colors.white,
          fontWeight: FontWeight.bold,
        ),
      ),backgroundColor: isDark ? Colors.black : ProjectColors.app_color,);
      snackbarKey.currentState?.showSnackBar(snackBar);

    }
  }
You will need also to import the relevant libraries top of the file:
import 'package:flutter/material.dart';
import 'dart:math';
import 'dart:io';
import 'package:flutter_file_dialog/flutter_file_dialog.dart';
import 'package:http/http.dart' as http;
import 'package:path_provider/path_provider.dart';
Now we will simply have to call this method on the IconButton that we have previously added to the AppBar of our Scaffold:
 IconButton(
            onPressed: () {
              _saveImage(context);
            },
            icon: const Icon(Icons.save,color: Colors.white,),
          ),
Final code is here please first understand then copy it:
import 'dart:math';
import 'package:flutter/material.dart';
import 'dart:io';
import 'package:flutter_file_dialog/flutter_file_dialog.dart';
import 'package:http/http.dart' as http;
import 'package:path_provider/path_provider.dart';

void main() {
  runApp(const App());
}

class App extends StatelessWidget {
  const App({super.key});

  @override
  Widget build(BuildContext context) {
    return MaterialApp(
      title: 'Save image to disk',
      home: MainScreen(),
    );
  }
}

class MainScreen extends StatelessWidget {
  static const _url = 'https://dosomthings.com/wp-content/uploads/2023/07/How-to-download-and-save-image-to-file-in-FlutterDosomthings.com_-1024x576.png';
  var random = Random();


  Future<void> _saveImage(BuildContext context) async {
    final scaffoldMessenger = ScaffoldMessenger.of(context);
    late String message;

    try {
      // Download image
      final http.Response response = await http.get(
          Uri.parse(_url));

      // Get temporary directory
      final dir = await getTemporaryDirectory();

      // Create an image name
      var filename = '${dir.path}/SaveImage${random.nextInt(100)}.png';

      // Save to filesystem
      final file = File(filename);
      await file.writeAsBytes(response.bodyBytes);

      // Ask the user to save it
      final params = SaveFileDialogParams(sourceFilePath: file.path);
      final finalPath = await FlutterFileDialog.saveFile(params: params);

      if (finalPath != null) {
        message = 'Image saved to disk';
      }
    } catch (e) {
      message = e.toString();
      scaffoldMessenger.showSnackBar(SnackBar(
        content: Text(
          message,
          style:  TextStyle(
            fontSize: 12,
            color: Colors.white,
            fontWeight: FontWeight.bold,
          ),
        ),
        backgroundColor: Color(0xFFe91e63),
      ));
    }

    if (message != null) {

      scaffoldMessenger.showSnackBar(SnackBar(
        content: Text(
          message,
          style:  TextStyle(
            fontSize: 12,
            color: Colors.white,
            fontWeight: FontWeight.bold,
          ),
        ),
        backgroundColor: Color(0xFFe91e63),
      ));

    }
  }

  @override
  Widget build(BuildContext context) {
    return Scaffold(
      appBar: AppBar(
        title: const Text('Save image to disk'),
        centerTitle: true,
        backgroundColor: Color(0xFFe91e63),
        actions: [
          IconButton(
            onPressed: () {
              _saveImage(context);
            },
            icon: const Icon(Icons.save,color: Colors.white,),
          ),
        ],
      ),
      body: Center(
        child: Container(
          padding: const EdgeInsets.only(
            left: 24.0,
            right: 24.0,
          ),
          child: ClipRRect(
            borderRadius: BorderRadius.circular(30.0),
            child: Image.network(_url),
          ),
        ),
      ),
    );
  }
}
Output:

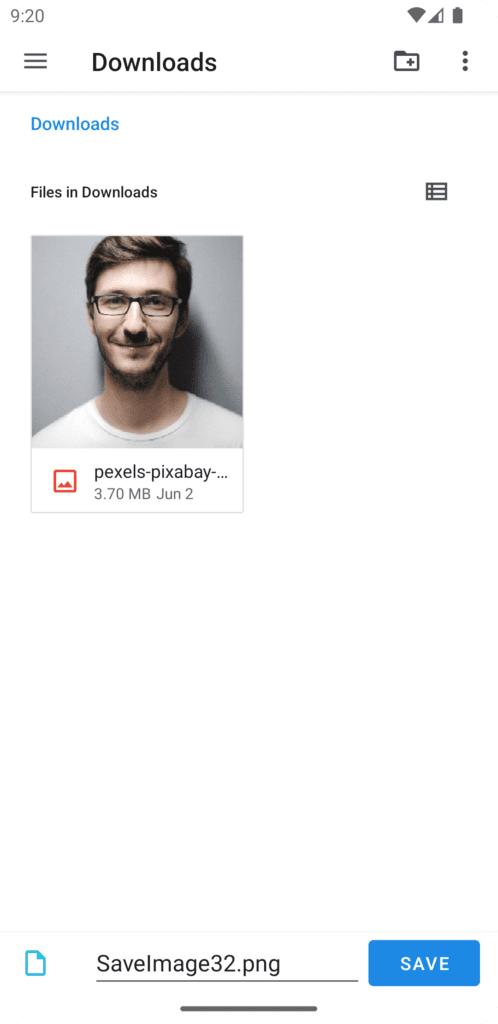
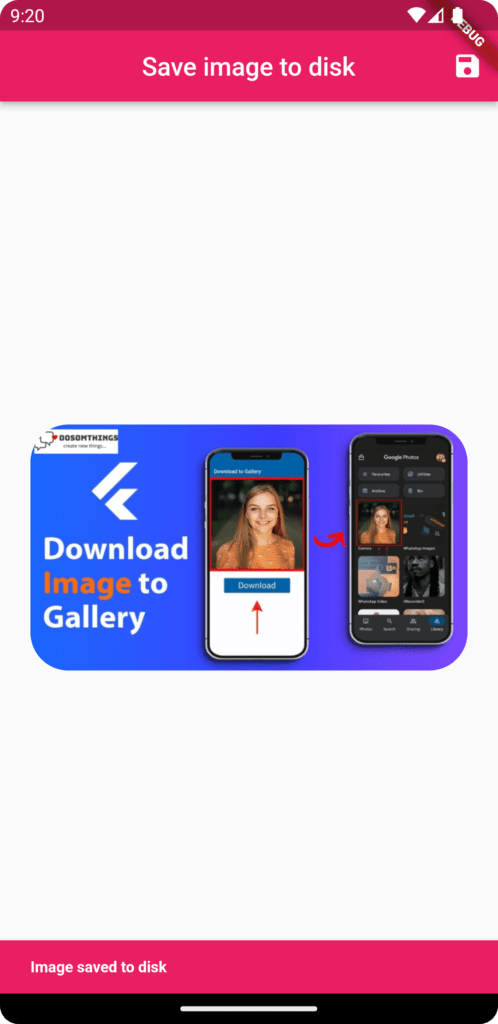
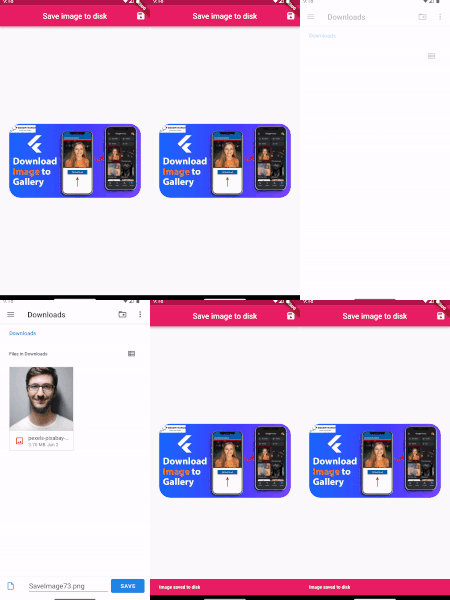
And that’s it, run the app and you will see that you can download the image from the URL in the directory of your choice and every time image save in unique name.
Conclusion:
In this article, we have learned how to download and save an image to a file in Flutter. By following these steps, you can incorporate image downloading and saving functionality into your Flutter applications, opening up possibilities for offline image viewing and user-driven image saving features. Flutter’s flexibility and the availability of relevant packages make it easy to implement such functionality and enhance the user experience in your applications.
I hope now you understand how to download image. seriously you don’t believe when i don’t know how to download image then i try find the solution in many youtube channel and article but no one can explains briefly how to do this task. but finally i got. So now this is your turn do code and enjoy it.
❤️❤️ Thanks for reading this article ❤️❤️
If I got something wrong? Let me know in the comments. I would love to improve 🥰🥰🥰.
Clap 👏👏👏 If this article helps you.
if you like our work so please follow us on this Dosomthings
Our New and Attractive articles:
StreamBuilder VS FutureBuilder: Difference Between StreamBuilder and FutureBuilder In Flutter.
Tinder swipe card: How to implement tinder swipe card in a flutter.
Time Delay in Flutter: How to Run Code After Time Delay in Flutter App.

